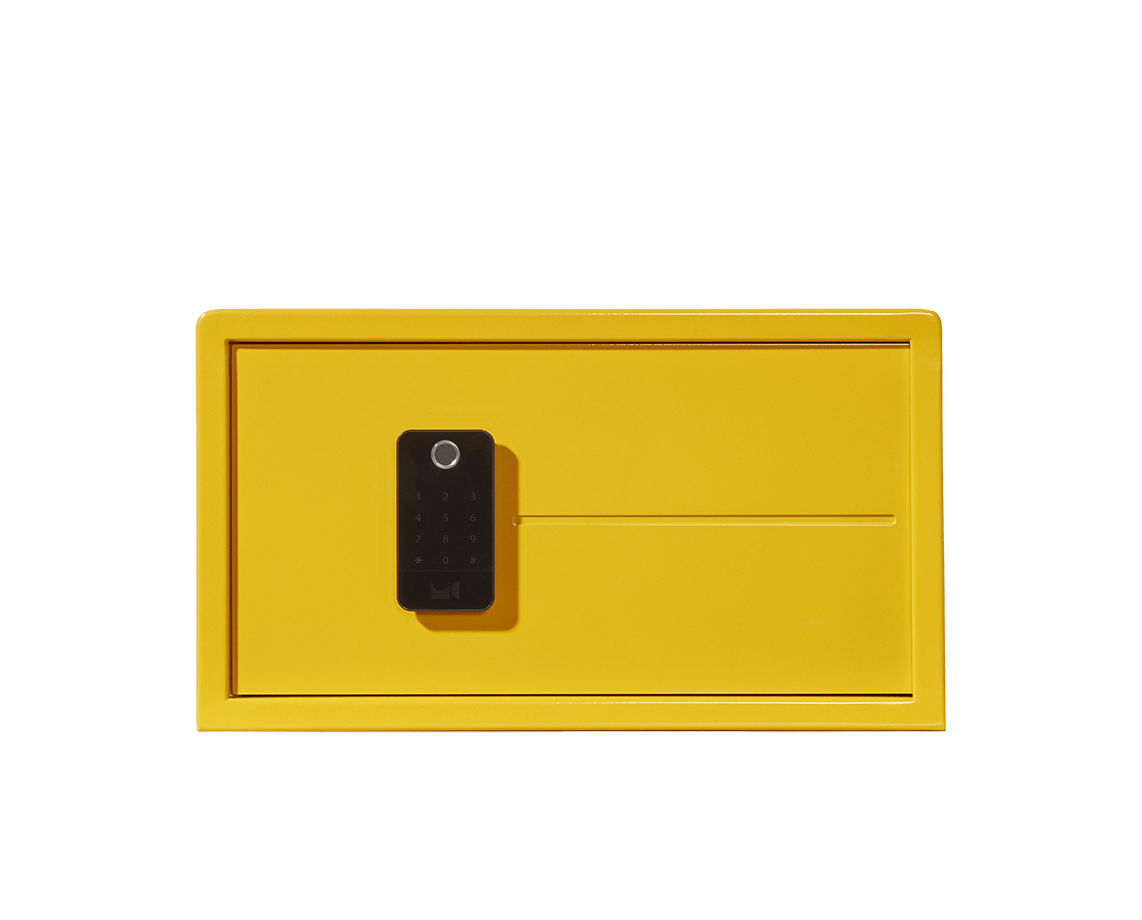
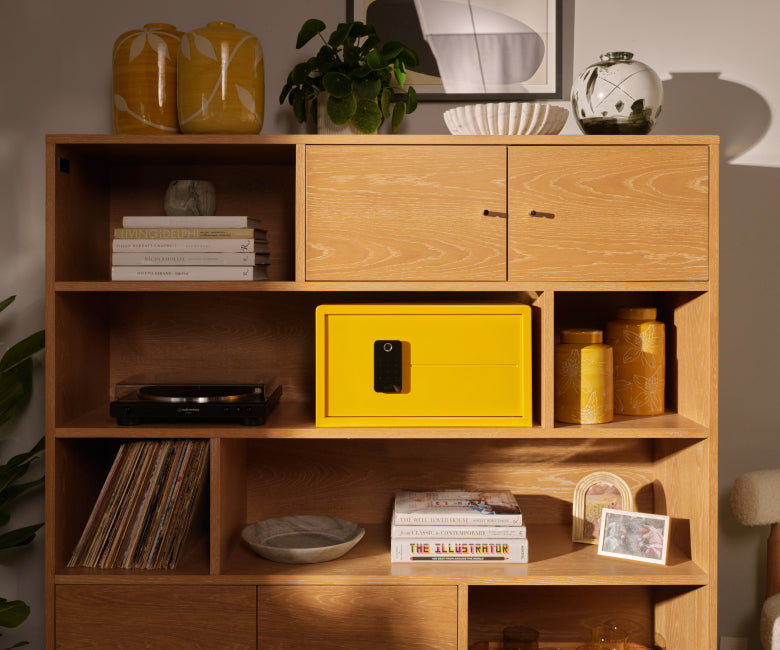
Setup
Please click the link below to view an instructional video on setting up your safe:
You can also refer to the step by steps instructions below:
With the iCube you will receive notifications if someone tampers with your safe. You won't need to remember any codes. You can also create an inventory of what's in your safe, and see an audit trail history of locks/unlocks.
- Plug safe into a wall outlet using the adapter provided with your safe.
- The safe runs over cellular network (think ATT, Verizon.) You do not need wifi or bluetooth to operate.
- After you plug in the safe for the first time, it may take a few minutes for the safe to connect and update the firmware.
- Listen for 2 beeps which will indicate that your safe is connected. This is normal.
- Download the Mycube Safe app in the Apple App Store or Google Play Store by searching for Mycube Safe
- Confirm your email - there is then an OPTION to use biometrics, if it's set up on the device.
- Open the App and the back of the safe door and scan QR code. Your safe is now paired.
- Set pin to unlock safe.
- Swipe and hold the circle and follow the prompts to lock/unlock your iCube.
- After the safe connects, you will be able to operate your safe from the app (may take a couple minutes after the beeps.) If you ever go to open/lock your safe and it doesn't work, quitting the app and then opening back up tends to solve the problem
- We use encrypted cloud technology built and monitored by the foremost security experts in the industry. Your iCube safe is extremely secure.
- The phone screen is your keypad - there are no buttons to press on the safe door. If you unplug the safe or lose power, there's a backup battery that will run for at least 2-3 days. If the safe loses power completely, there's a backup manual key that you can access behind the door handle that comes in your green MyKit bag.
Connecting The App To Your Safe
Refer to the instructions below to connect the Mycube app to your safe:
- First step in connecting your safe is to use the power cord that comes in the green MyKit bag and plug the safe into a regular 110V outlet.
- Download the Mycube Safe mobile app onto your smartphone.
- To connect the app to your safe, you must open the Mycube Safe mobile app and follow the instructions until you reach the step to Scan QR code.
- Open the back of the safe door and place the QR code in the center of the camera. Your safe will then pair with your app.
- Once the safe is plugged in and you’ve scanned the QR code, you can begin to operate your safe. You’ll notice that as soon as you plug the safe in for the first time, the light on the handle will blink white for 10 seconds. This shows that the safe is powered, but you may need to wait another 1-2 minutes before your safe connects to our cloud network.
If your safe is paired and you try to lock your safe and you’re not getting a response, it just means that your safe hasn’t connected yet. It may take a couple of minutes for the safe to connect to the cloud once it’s plugged in. This is totally normal. The safe has to connect to the cloud network and may need to update to the latest firmware. Generally, once your safe is connected, you will hear two beeps from the safe which is when you can start to lock and unlock your safe.
If for whatever reason your safe isn’t connecting, do not panic. It generally means that you need to wait a little longer for the safe to connect, or that you signal needs to be stronger by putting the safe in a different location or moving to a room where you have a stronger cellular signal on your phone. If you continue to experience connectivity issues, please send an email to support@mycubesafe.com and a member from our Customer Service Team will contact you to provide further assistance.
Logging Into Your Safe
Refer to the instructions below to log into your safe:
- Once you have set up your safe, you can either use Face ID, biometric fingerprint, or a regular password to log into your Mycube Connect. If you use Face ID, make sure to click on the square face ID icon to the right side of the Password field. Then hold your phone to your face to unlock your safe.
- Upon logging into your safe with one of the three password options, you will then be brought to the unlock/lock screen.
Opening And Closing Your Safe
We've created a smart touch technology for opening your Mycube Connect to ensure optimal security.
- In order to open your safe, pull down on the red circle for 0.5 seconds and release
- When the white perimeter of the circle goes 360 degrees is when you can release the circle for opening
- To lock the safe, simply pull and hold the green circle for 0.5 seconds and release
Entering Inventory
To enter inventory:
- Sign into your app and go to the Inventory icon in the middle of your app.
- Click on the “+” and choose from a list of pre-populated common valuables. Or scroll to the bottom and click on “Other”
- To create your own category of item. You can edit the field to name your item, and you can take a photo or upload a photo of your item for visual recognition. You can also pull and return items and add notes so you know when you remove an item, when you return it, and what you removed it for.
Viewing Audit Trail History
To view your audit history:
- On the bottom right-hand corner of the app, there is an Events History icon that you can click into to see a log of safe occurrences.
- See a history of opens and closes, if the safe loses power, if the safe detects movement, or if someone tries to open the safe without the app.
- Upon each instance, you can receive a push notification and email alert. Make sure you turn notifications on by going into the Menu on the top right and clicking into Notifications.
Adding A User
To add a user:
- If you’re the admin of an Mycube Connect safe, you can add users and share the safe. In order to add a User
- Go into the Menu in the top right corner of the app and click on the Users section.
- Then click the “+” and fill in the contact information of the person you want to add.
- They will then receive an email with instructions on how to download the app and access the iCube.
